

Claude Code guide for designers
A step-by-step guidebook for designers who want to build your first app.

Hey there! This is an 🚀 exclusive open edition of AI-First Designer 🚀, to help designers transition into successful AI-First builders. Members get access to proven strategies, frameworks, and playbooks.
For more: Get free 1:1 mentorship | Be first to win in career as an AI-First Designer | Claim your AI Design Guide for free
Hi friends,
Before we get into today’s newsletter, I’m so proud and excited to share the latest stuff we’ve been cooking (all taught by yours truly)…
NEWS: ⭐️ If you're a designer who wants to start building apps, here's your roadmap.

I am not a developer. I built 3 apps and shipped them in 2 weeks.
Designers who vibe-code, ship 10x faster. And get paid 10x more. ⭐️ Learn vibe coding with Claude Code & Cursor → go from Figma to shipped prototypes for only $249 $599 today. *including 3 new vibe-coding courses like Figma MCP, iOS Apps, and more. No coding background required.
Friends,
Claude Code is the highest leverage skill you can learn this year.
You don’t want to miss this. So I’ve written a full guide for you.

For context...
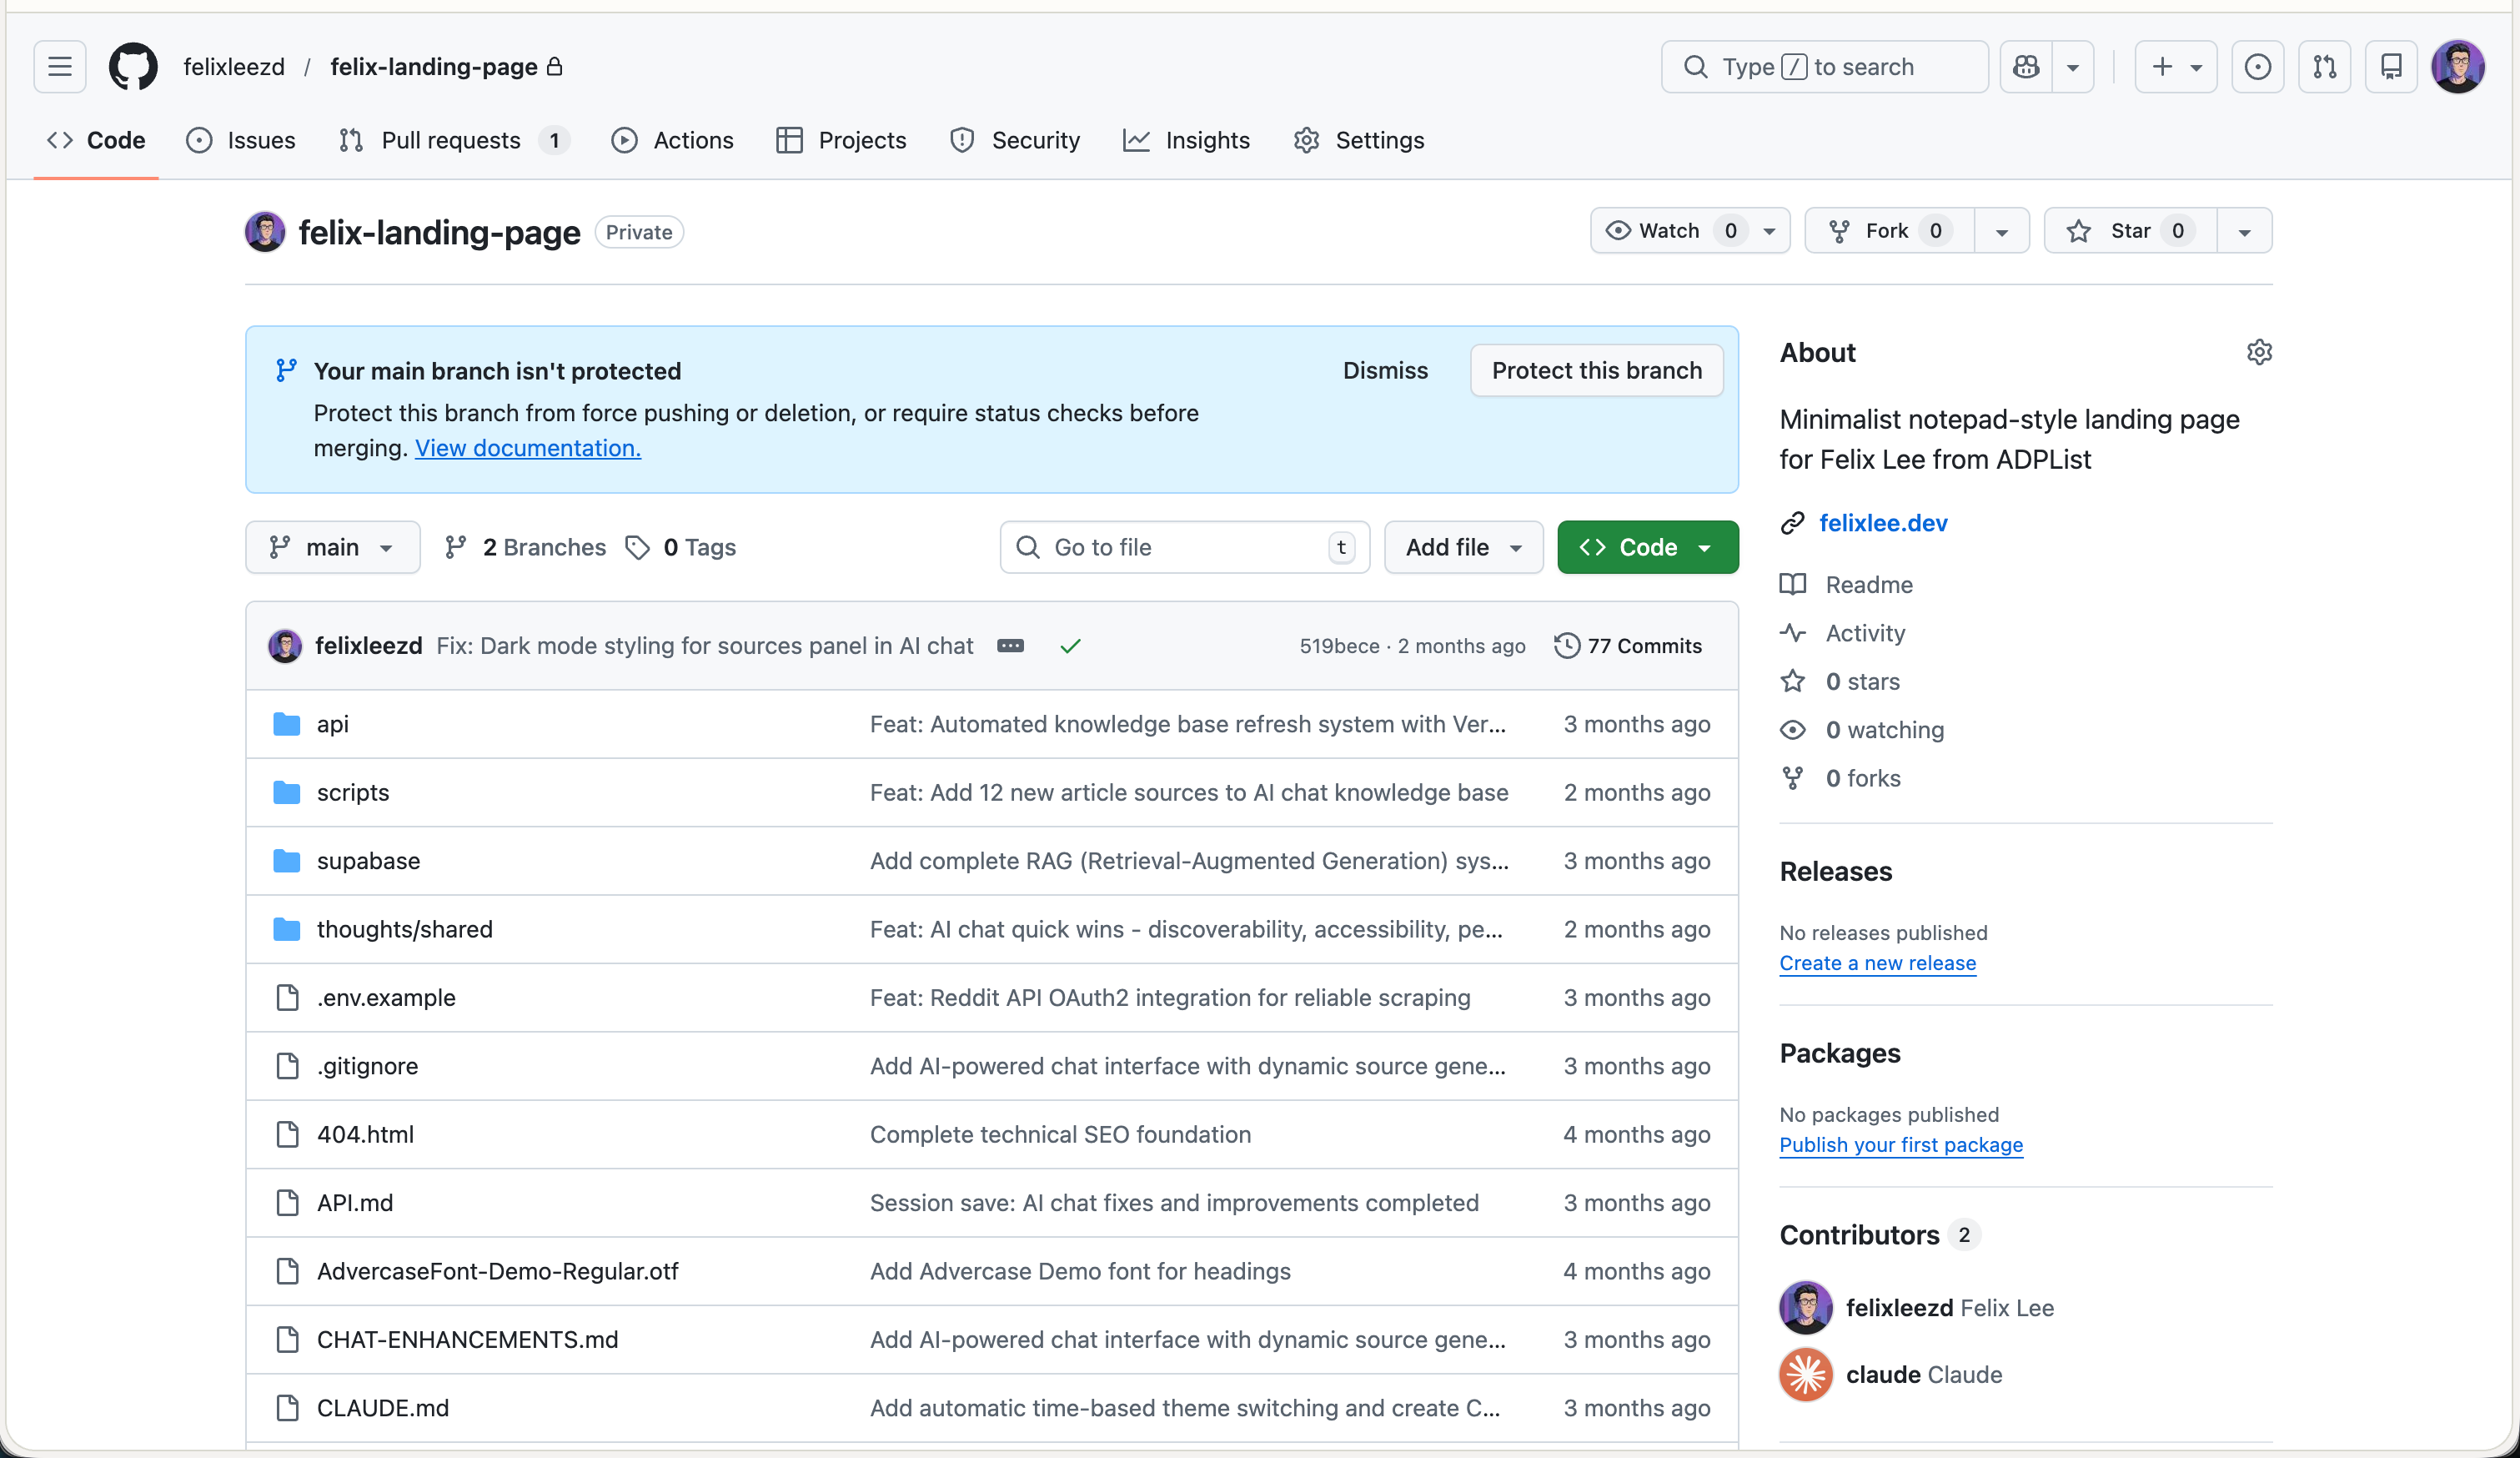
I built my personal website, with an AI chat that answers questions about my work, in 48 hours. Three days later, I shipped a growth design tool.
I’m not a developer. I’m a designer. A year ago, I couldn’t ship a single line of code without an engineer. Now I deploy products on weekends.
Same person, different tool (no more Figma)!
This is the complete guide to using Claude Code as a designer -> step by step, command by command.
Claude Code for Designers

What is Claude Code?
Claude Code is a coding agent. You give it instructions in plain English, and it writes code for you. You prompt: “Create a landing page with a hero section, three feature cards, and a footer.” It executes.
Or something like. “Add an AI chat widget that answers questions about my portfolio.” It executes. You don’t need to understand syntax. You need to understand what you’re building.
Imho, this is even better than Cursor or anything else out there (as of today).
Things I’ve built
⭐️ Project 1: Tetris game
Okay, this one is insane: I built a Tetris game using only Figma MCP connected to FigJam, then back to Claude Code. I did not even design or touch a single line of code.
No joke, this one blew me away (see my reaction at 7s). 😂

⭐️ Project 2: Growth design tool
An internal tool for analyzing metrics and suggesting design experiments. Database-backed. User authentication. AI-powered recommendations. 3 days. Working product. Live on the internet.
How insane, got over 500 users now!
Now, let’s get you up to speed on these.
Step 1: Install Claude Code
On Mac: Open Terminal (search “Terminal” in Spotlight) and run:
npm install -g @anthropic-ai/claude-codeIf you don’t have npm, install Node.js first from https://nodejs.org
Verify installation: Type ->
claudeClaude Code should launch. You’ll see a text interface where you can start typing instructions.

Step 2: Basic terminal commands
Claude Code runs in the terminal. Here’s what you need to know:
claude                    # Start Claude Code
cd folder-name            # Navigate into a folder
cd ..                     # Go back one folder
ls                        # List files (Mac)
dir                       # List files (Windows)
pwd                       # Show current location (Mac)
That’s it. You don’t need anything more than this to get started.
Step 3: Create your first project
Create a project folder (aka directory):
mkdir my-portfolio
cd my-portfolio
claude
Now you’re inside Claude Code, in your project folder.
Start with a plan ALWAYS (critical):
Before writing any code, ask for a plan:
I want to build a personal portfolio website with:
- A hero section with my name and tagline
- A projects section showing 4 recent works
- An about section with my bio
- A contact section with links to Twitter and LinkedIn

Research the best way to build this and create a plan.md file with:
1. Recommended tech stack
2. File structure
3. Design considerations
4. Step-by-step implementation plan
Claude Code creates a plan.md file. Open it and review.
Adjust accordingly (critical):
In the plan, change the tech stack to vanilla HTML/CSS instead of React. Keep it simple.Implement:
Implement this project according to plan.md. Start with the HTML structure, then add CSS styling.
Watch as files appear: index.html, styles.css, images/.
Preview locally: How do I preview this in my browser?
For a local server:
npx serveOpen http://localhost:3000 in your browser.
Step 4: Iterate through prompts
This is where designers have an advantage. You already know how to give feedback.
Styling:
Make the hero section full-height (100vh). Center the text vertically.
The projects section looks cramped. Add more padding between cards — at least 32px.
Add a subtle hover effect on the project cards. Scale up slightly and add a shadow.
Change the font to Inter from Google Fonts.Responsiveness:
Make it responsive.
On mobile, stack the project cards vertically.

The navigation should collapse into a hamburger menu on screens under 768px.
Functionality:
Add smooth scroll behavior when clicking navigation links.
Add a contact form that sends submissions to my email using Formspree.
Debugging: Each prompt → code change → refresh browser. The loop is fast.
Step 5: commit (aka save) to GitHub
Create a GitHub account: Go to https://github.com and sign up (free).
Create a repository: Click + → New repository
Name it (e.g., my-portfolio)
Keep it Public or Private
Don’t initialize with README
Click Create repository
Copy the repository URL.
Connect and push:
In Claude Code:
Initialize git in this project and connect it to my GitHub repository:
https://github.com/yourusername/my-portfolio.git
Or manually:
git init
git remote add origin https://github.com/yourusername/my-portfolio.git
git add .
git commit -m "Initial commit"
git push -u origin main
Create documentation:
Create a README.md that explains what this project is and how to run it locally.
Create a claude.md file that describes the project architecture and context for future sessions.
Your code is now saved and versioned.
Step 6: Go live/deploy to Vercel
Create a Vercel account: Go to https://vercel.com and sign up with GitHub (please do this so it can auto-deploy in the future).
Option 1 Vercel dashboard:
Click Add New → Project
Import your GitHub repository
Click Deploy
Option 2 through Claude Code:
Deploy this project to Vercel.
Result: You get a live URL like https://tetris-two-mu.vercel.app/ (real app btw, try it and beat the highscore). NOTE: Your site is on the internet. Every future push to GitHub auto-deploys.
Step 7: Add your custom domain
In Vercel:
Go to Settings → Domains
Add your domain (e.g., felixlee.dev)
Vercel shows DNS records to add
Update DNS at your domain provider:
Type: A
Name: @
Value: 76.76.21.21

Type: CNAME
Name: www
Value: cname.vercel-dns.com
Wait 5-30 minutes. Your site loads on your custom domain.
Step 8: Build into a web app (advanced)
Static sites are steps 1-7. Now let’s add users, data, and AI.
Research prompt:
I want to expand this portfolio into a web app with:
Google sign-in authentication
An AI chat widget that answers questions about my work
A comment section where signed-in users can leave messages
Research the best approach and create an implementation-plan.md with:
Services needed (auth, database, AI)
Architecture overview
Security considerations
Step-by-step implementation phases
Set up environment variables:
Create a .env file for storing API keys. Also, create a .gitignore that excludes .env from GitHub.
Your .env file:
SUPABASE_URL=https://xxxxx.supabase.co
SUPABASE_ANON_KEY=eyxxxxx
OPENAI_API_KEY=sk-xxxxx
🚨 Never commit this file.
Step 9: Supabase (database + auth)
Create a project:
Go to https://supabase.com
Create a new project
Go to Settings → API
Copy Project URL and anon key
Enable Google sign-in:
In Supabase: Authentication → Providers → Google → Enable
Go to https://console.cloud.google.com
Create project → APIs & Services → Credentials → Create OAuth Client ID
Copy Client ID back to Supabase
Then redploy!
Quick ref: prompts by category
Planning:
Research how to build [X] and create a plan.md with tech stack, structure, and implementation steps.Implementation:
Implement this according to plan.md. Start with [component].Adding features:
Add a [feature] that [behavior]. Use [service/API] if needed.Debugging (good to include a screenshot of the error):
I'm getting this error: [error]. Find and fix the issue.And you’re all set to redeploy! 🎉
This article is based on my full Vibe-Coding course (if you’d like to support) ⭐️. It includes:
Installation walkthroughs (Mac + Windows)
Interface orientation
First project tutorial
GitHub + version control
Vercel deployment
Custom domains
Supabase + OpenAI integration
NEW chapters on AI agents and Figma MCP
Thank you for reading.
Final thought... I used to feel like half a builder. Like my ideas needed someone else to become real. Not anymore.
It’s time to build, designers.
If you find this guide helpful, ❤️ Like this to come back again, and 🔄 repost or forward it and share your thoughts. Because more designers can learn to build.
See you next week!

— Felix
As a fellow vibecoder I love this - thanks for sharing.
have you also tried the code option using the Claude interface on the mac ? Wondering what your experience is there..
Have you found any value still using Figma and going MCP route? Or are you okay with abroader strokes target and honing with prompting? I’m wondering if I just need to let go of my desire for exactness.
(Thanks for this post btw)